The Driveway Installation Process
The Driveway Survey
Impressed Concrete custom designed Driveways Process that will enhance the look of your home.
The surveyor will arrange to meet you, see the intended driveway and design the project. After the cost of the work has been accepted and agreed, the surveyor will make sure that the best plans are in place for drainage and that the intended project will satisfy both the planning department and “good building practice”.
If you have any reservations, worries or queries, our surveyor will answer these and pass the relevant information on to the installation department.
After you have chosen your desired colour scheme, pattern designs and any additional features , the surveyor will draw a detailed plan to scale encompassing all the information discussed. This plan is then signed by both parties and handed to the installation department.
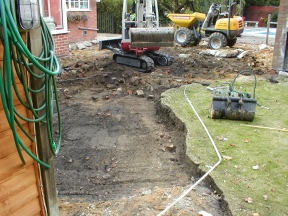
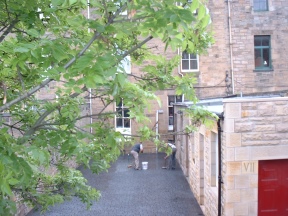
Site Preparation - In most cases the first stage of driveway/patio installation will be over in just one day.

It involves the removal of the old surface using the appropriate machinery (this will vary according to each site’s individual requirements).The sub-base is then laid and compacted.
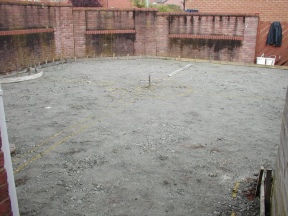
All the peripheral preparation work such as drainage, soak ways and shuttering the correct shape will then occur to complete this stage
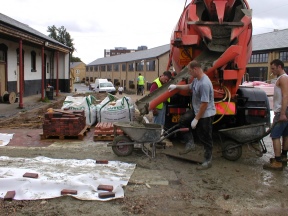
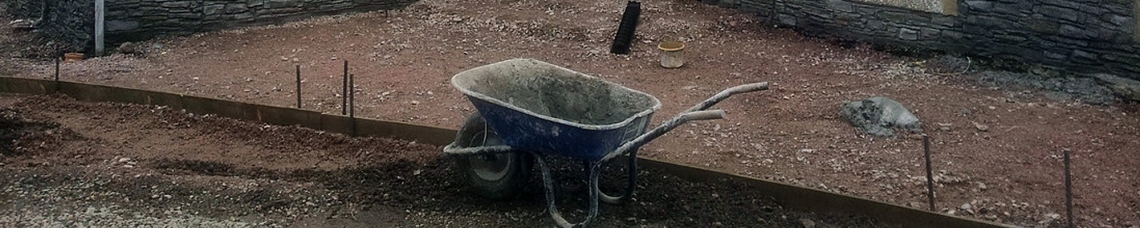
Formulation of the Driveway/Patio - On usually what would be the second day, the concrete is laid. The high strength ready mixed concrete arrives and then the action commences.
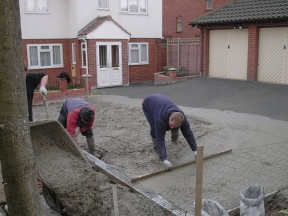
The wet concrete is then distributed over the prepared area and raked to approximately the correct levels. The team foreman will then proceed to screed the concrete with a large spirit level. It is critical that this levelling procedure is undertaken by an experienced installer (our foremen all have 10 - 20 years of mileage within our team).
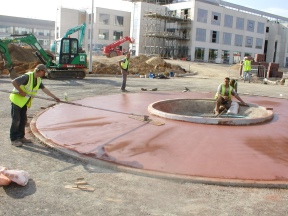
The concrete is then floated smooth using large magnesium floats. At the correct time the Colour Surface Hardener is applied to the wet surface and floated in.
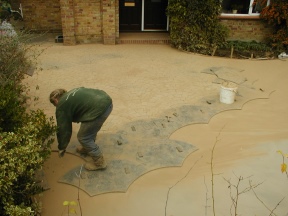
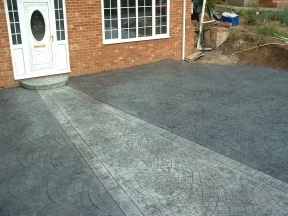
When the time is perfect the desired pattern is imprinted in to the semi firm concrete surface.
To prevent the moulding tools from sticking and to give the antique effect ,the Antique Release Powder is applied prior to printing.
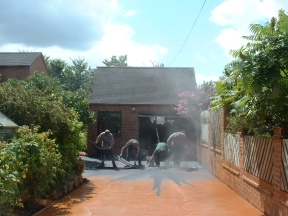
Washing, Cleaning and Sealing - In the warmer months these parts of the process may all take place on the same day but in cooler months, sufficient periods are required prior to applying the final coat of seal.
The Crack Control Joints are cut in with a diamond blade, to minimise the risk of cracking. The Antique Release Powder is then power washed from the surface, at which point all the surrounding area will be cleaned.
Detergent and an acid formula will then be applied to the surface to achieve the final desired colour. Any other small snags and peripheral work is then carried out (lifting and freeing new manhole covers , removing shuttering etc). Finally the Crack Control Joints are filled with a coloured silicone and the sealant is applied containing an anti-slip agent for extra grip.